- Hair
- How to Do a Slicked Back Bun
How to Do a Slicked Back Bun

Fluffy brows, a flush of blush, glossy lips, chunky gold jewellery and a pair of slimline sunnies are the recipe for achieving the ‘clean girl’ aesthetic. However, this trending look is nothing without the pièce de résistance, also known as the slicked back bun.
Slicked back bun; spiky bun; off-duty model bun, this ‘cool girl’ hairstyle has many aliases as it’s become the internet’s latest obsession. A favourite among the likes of Bella Hadid, Kendall Jenner and Hailey Bieber, the slicked back bun is a super easy, fuss-free hairstyle that makes you look polished and put together, even on your worst days.
That being said, there is a technique to it – especially if you’re trying to bypass the possibility of looking like an egghead. Keep scrolling, as we break down exactly how to do a slicked back bun.
Step 1:
Before we get into it, the slicked back style typically works best on two-to-three-day-old hair (a win for the girls that usually skip wash day). You can use a dry shampoo to freshen up areas that need a little love.
Start by brushing your hair in order to remove all knots and tangles. Then, create a straight, clean parting down the middle of your head.
Step 2:
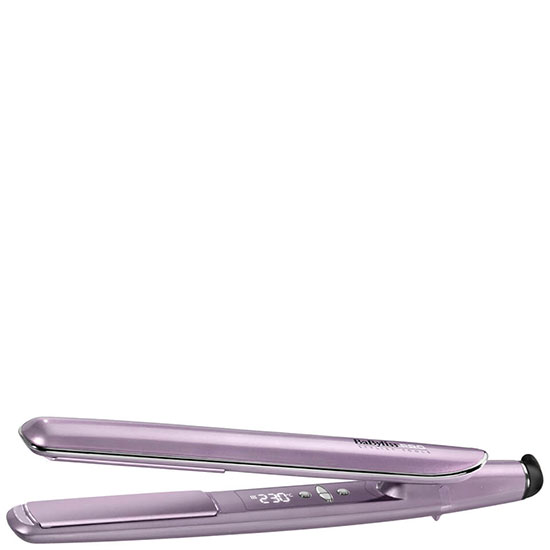
Straighten your hair to eliminate frizz. Try to get as close to the roots as possible for a clean, smooth hairline.
Step 3:
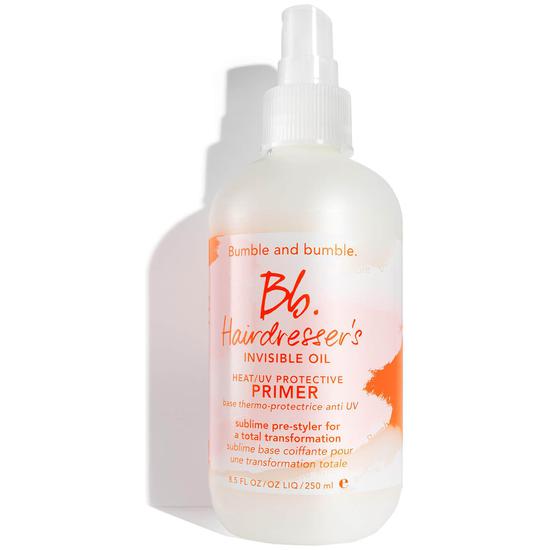
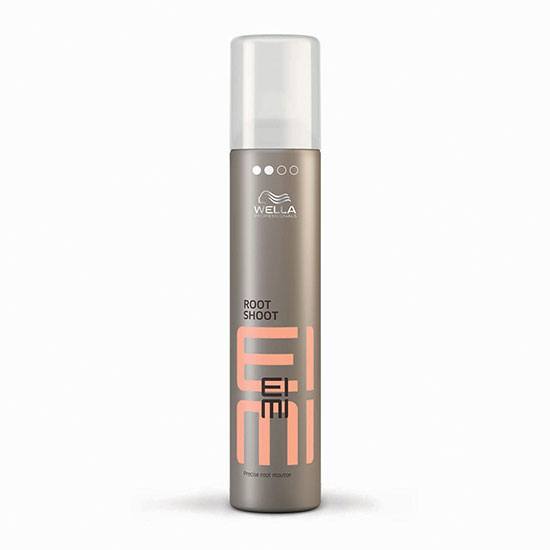
Grab your favourite hair mousse, serum, gel or wax and apply a generous amount to roots and mid-lengths. Focus on the hairline, especially around the sides of your head and temples. This will help you tame flyaways as well as give the hair some natural hold, making it easier to slick back.
Step 4:
Now it’s time to map out the position of your bun. Avoid going too high on the head, as you would with a top knot, or too low on the nape; the middle of the back of your head is the perfect placement. If you struggle to find the right position, try running your fingers around from the top of your ears to the back of your head in order to get that sweet spot.
Step 5:
Once you’re happy with your position, it’s time to secure your hair into a ponytail. In this instance, the tighter the ponytail, the better. No pain is no gain, however we also don't want a bun that's headache-inducing.
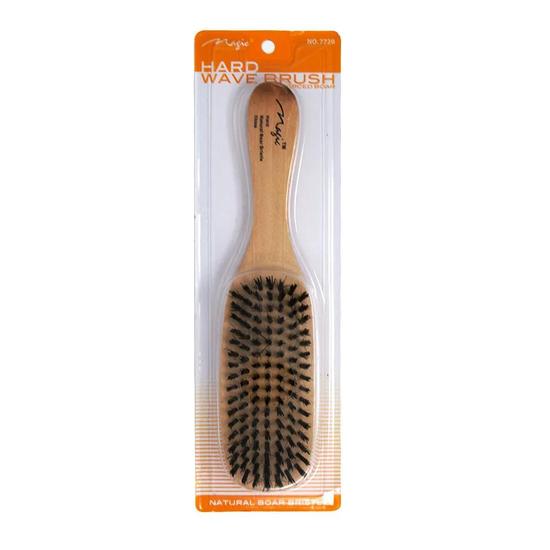
Gather your hair by swooping it backwards in a diagonal motion rather than straight or upwards. Keep the middle parting clean and visible - it is the signature part to the off-duty model look, after all. The key here is to use a soft boar bristle hairbrush so that hair stays sleek and free from kinks and bumps. Secure your ponytail with a strong hair tie, or two.
Step 6:
Grab your ponytail and loosely twist it a few times. Now, wrap it around the base of your ponytail to create a bun before securing it in place with a hair tie, and hair pins if needed. For the spiky bun effect, remember to leave the ends of your hair out before wrapping it into a bun.
Step 7:
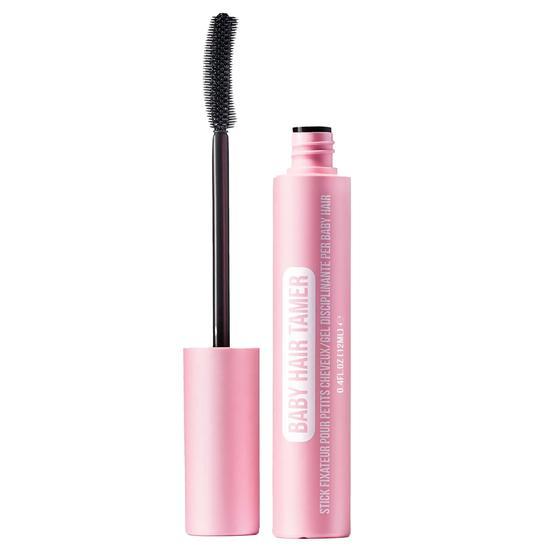
Now for our favourite part! To really slick your hair into place, take a smoothing stick and run it over your hair. You can even use it to tidy up baby hairs along the hairline.
For a more undone look, gently pinch random areas of hair to create volume, or pull out some front strands to frame the face.
Step 8:
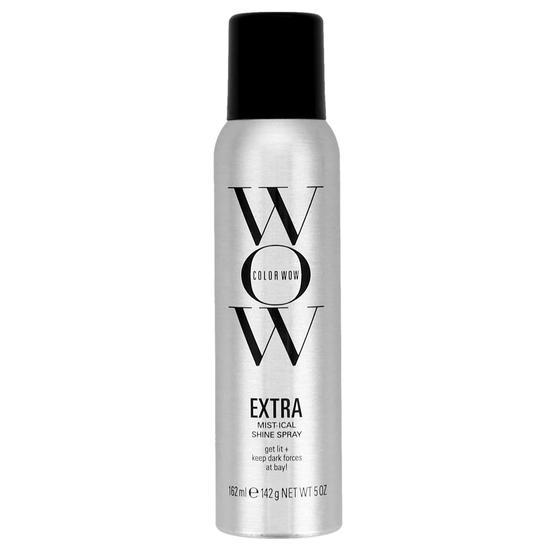
Lock your style in place all day by finishing with a generous spritzing of medium-hold, high-shine hairspray.
Practice makes perfect with this one, however now that you’re prepped on how to do a slicked back bun, we’re more than confident that you’ll soon be part of the ‘clean girl aesthetic’ clan.
If you like this hairstyle, we also recommend checking out 12 Top Knot Styles for Every Hair Type.

Written by Carly Cochrane
As the Senior Content Editor for Cosmetify, Carly is the go-to for all the latest (and greatest) beauty tips, tricks and trends. With over six years of experience in the industry, she knows all the ins-and-outs when it comes to health, beauty and wellbeing.
Top Posts

