- Sun & Tan
- How to Apply Fake Tan
How to Apply Fake Tan Like a Pro

So, you’ve got your bottle of fake tan and you’re ready to lay down a bronzing that would fool anyone into thinking you’ve spent two weeks sunning in the Bahamas – great!
But, what if we were to tell you that the secret to an undetectable golden glow lies in the application? Yep, unfortunately, self-tanning isn’t just a slap-on-and-go job – there’s method to the madness, especially if you want a blotch-free tan that actually sticks around.
Luckily, we’ve got you covered. Keep scrolling to find out to how to apply fake tan like a pro.
1. Scrub up
Ask any expert what the first step of your tanning routine should be and they’ll tell you ‘exfoliate, exfoliate, exfoliate’.
Scrubbing away dead skin cells allows you to create a clean and smooth canvas for the tan to be applied to. The result? An even colour that’s bursting with radiance.
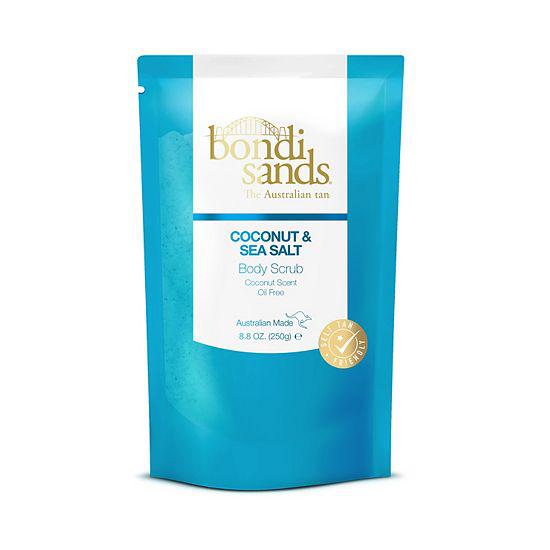
We suggest using a body scrub, working in circular motions and paying extra attention to areas such as the knees, elbows and neck. You can even use exfoliating gloves for better results.
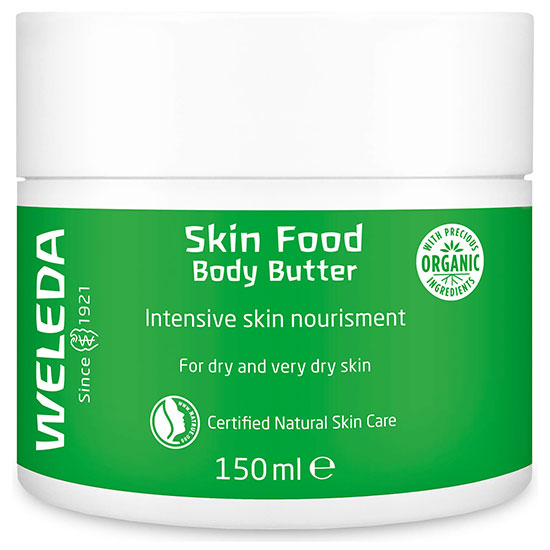
2. Moisturise
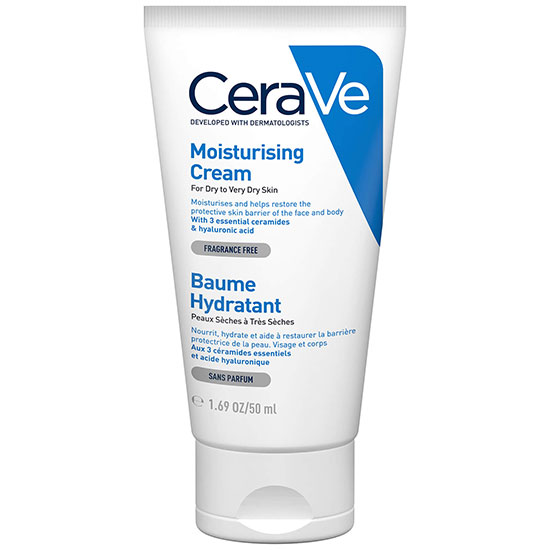
Moisturising is one of the most important pre-tan steps. It creates a barrier between dry areas, making streaks and orange patches a thing of the past.
Any light moisturiser will do the trick, but tan primers usually work best. Areas you're going to want to cover are: elbows, knees, knuckles, between the fingers, inner wrists, ankles and toes.
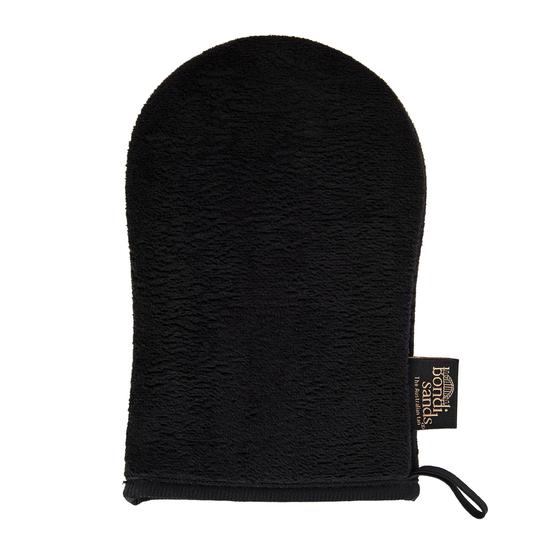
3. A tanning mitt is a must
Applying tan with bare hands is a disaster waiting to happen. Get yourself a tanning mitt and never look back. Not only do they prevent you from ending up with orange palms, but they help to evenly distribute product, leaving you with a streak-free tan.
Apply your self-tan to the mitt and then sweep it over your body. Don't forget to rinse it out when finished!
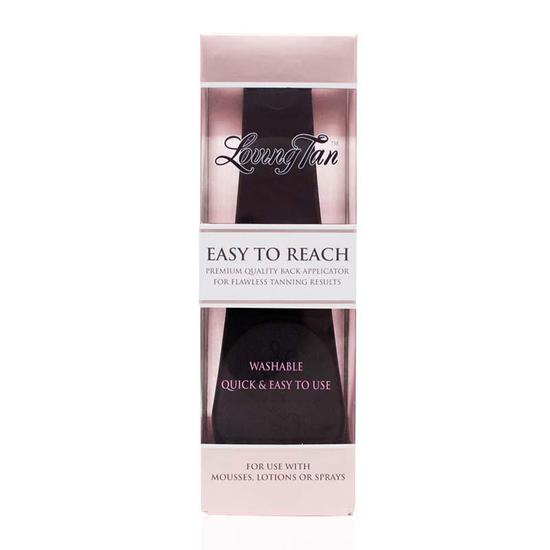
4. Don't forget to tan your back...
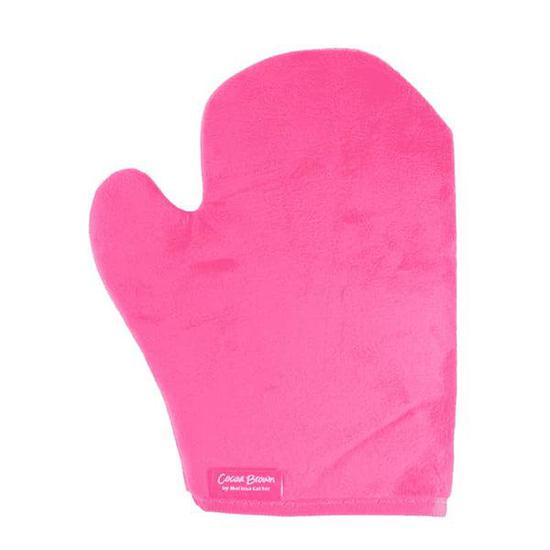
Our back is a hard to reach area that often tests our acrobatic skills. We know how easy it is to miss spots (or forget about it altogether), but if you’re solo-tanning then try flipping the tanning mitt so that the application side is on the back of your hand. This way you gain more flexibility and can reach every nook and cranny.
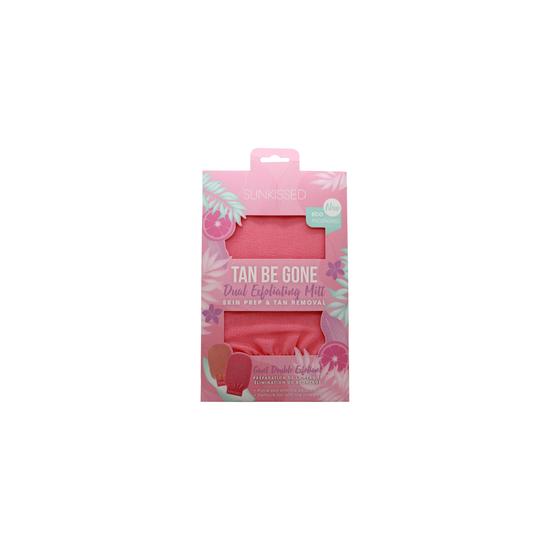
Alternatively, you can give these handy dual application mitts a go.
5. ... and your face
Whilst fake tanning your face is completely optional, it’s always good to know the do’s and don’ts.
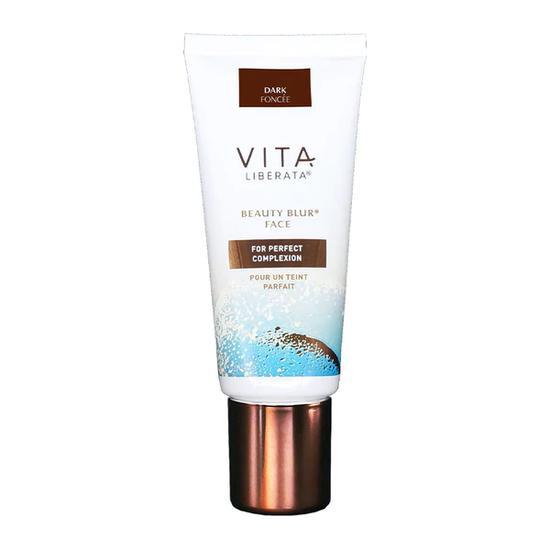
If you do want to give your skin a sun-kissed glow, try out a formula that’s been specially developed for your complexion – you’re less likely to break out and your tan will look much more natural.
6. Wear loose-fitting clothes while it dries
Whether your tan needs one hour, four hours or the entire evening to develop, it’s essential that you wear loose clothing in the meantime. Tight, restrictive clothes will only rub away at your tan and make you sweat, ruining your chances of revealing a beautiful bronzing.
7. Moisturise (again)
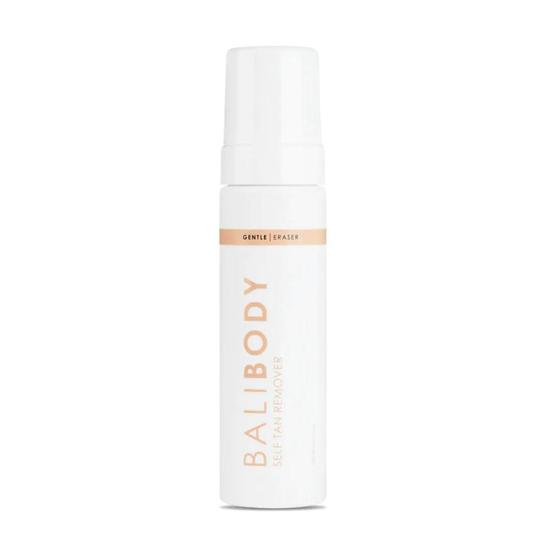
So, your tan has developed, you’ve rinsed off the excess and revealed a gorgeous glow – wahey!
To keep your colour fresh, flawless and fade-proof, you're going to want to regularly hydrate skin with a lightweight moisturiser.
8. Top up with a gradual tan
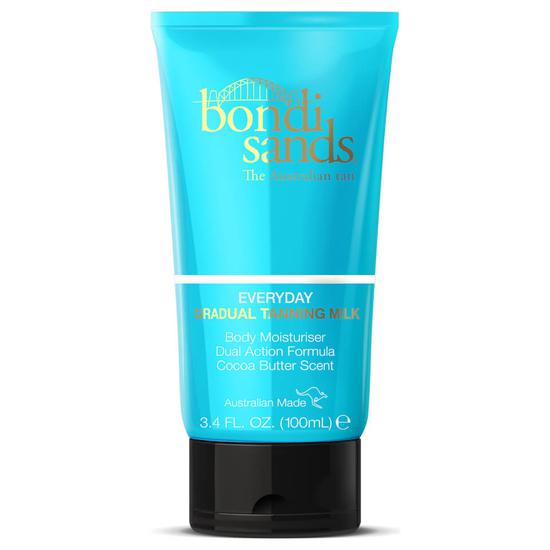
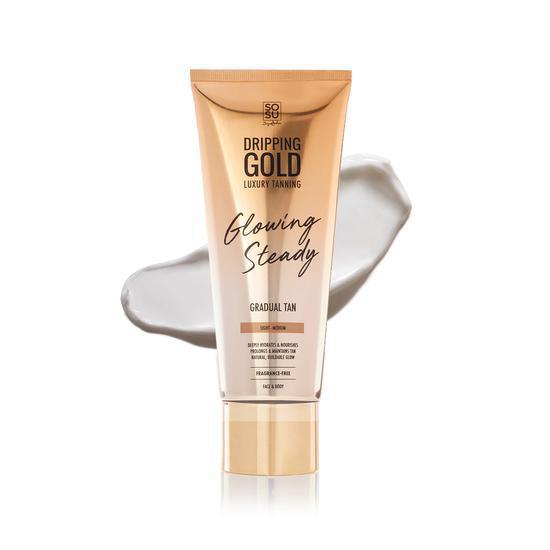
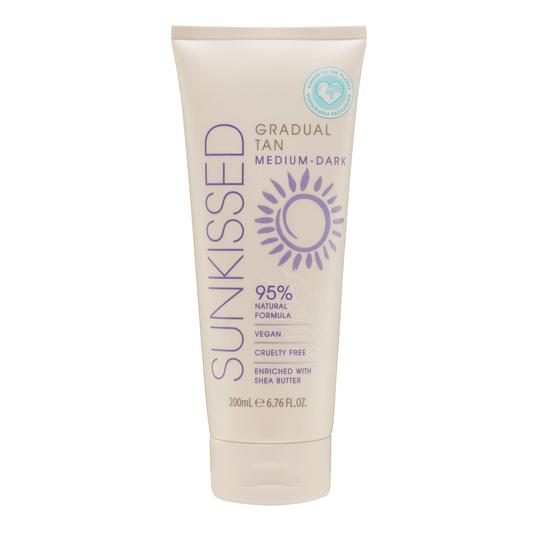
If you want to make the most of your newfound glow (or haven’t got the time to start the process all over again), then you might want to try occasionally topping up your colour with a gradual tanner or body bronzer.
They’re super quick, easy to apply and give your tan an extra lease of life – it’s a win, win.
Whether you’re a beginner at bronzing or have been showcasing faux sun-kissed skin for years, these tips on how to apply fake tan will forever be useful.
Once you’ve mastered the application process, why not check out The Best Fake Tans for Your Face.
Related Categories

Written by Carly Cochrane
As the Senior Content Editor for Cosmetify, Carly is the go-to for all the latest (and greatest) beauty tips, tricks and trends. With over six years of experience in the industry, she knows all the ins-and-outs when it comes to health, beauty and wellbeing.
Top Posts

